Few things bring as much joy to kids as turning a few simple ingredients into something totally new. And when that something is gooey, stretchy, and a little bit messy—cue the excitement! That’s exactly why making slime is such a hit. It’s part science experiment, part hands-on fun, and 100% entertaining.
The best part? You don’t need fancy kits or weird chemicals. I wanted a slime recipe that was totally safe for little hands—no Borax, no liquid starch, and nothing I’d worry about if a kid accidentally put their fingers in their mouth.
After testing a few different methods, I landed on the perfect one. It’s quick, it’s easy, and best of all, it uses ingredients you probably already have at home.
Ready to get slimy? Here’s how to make the best homemade slime in just five minutes.
Homemade Slime Recipe (No Borax!)
Ingredients
Equipment
Method
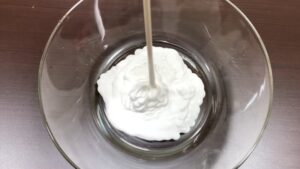
- Pour Glue into a Mixing BowlStart with 6 oz of Elmer’s glue. If making slime for multiple kids, double or triple the batch. Pour it into your mixing bowl.
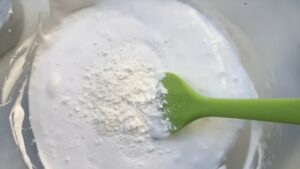
- Add Baking SodaAdd 2¼ teaspoons of baking soda to the glue. Stir well until fully combined.
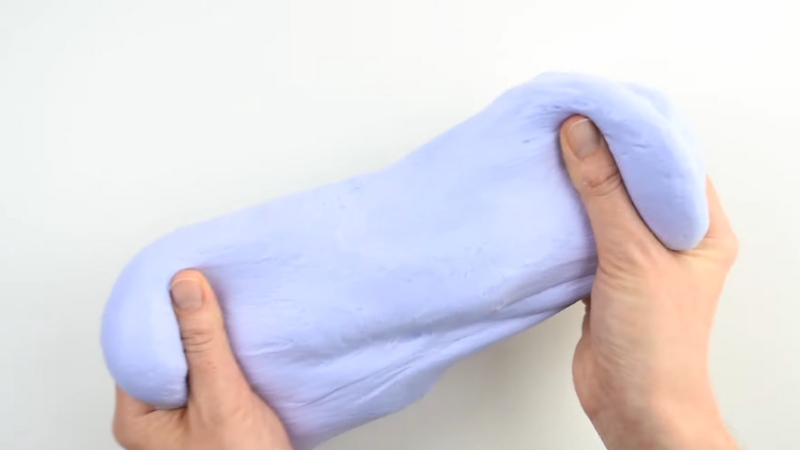
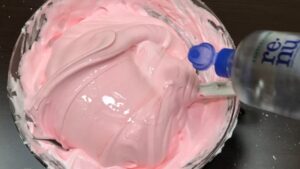
- Add Food ColoringAdd about 10 drops of your favorite food coloring. Stir thoroughly to achieve an even, vibrant color.

- Add Saline Solution & Stir Like CrazyPour in 1 tablespoon of saline solution. The mixture will start binding together instantly. Stir vigorously—at first, it'll be sticky, but keep going until it pulls away from the bowl.
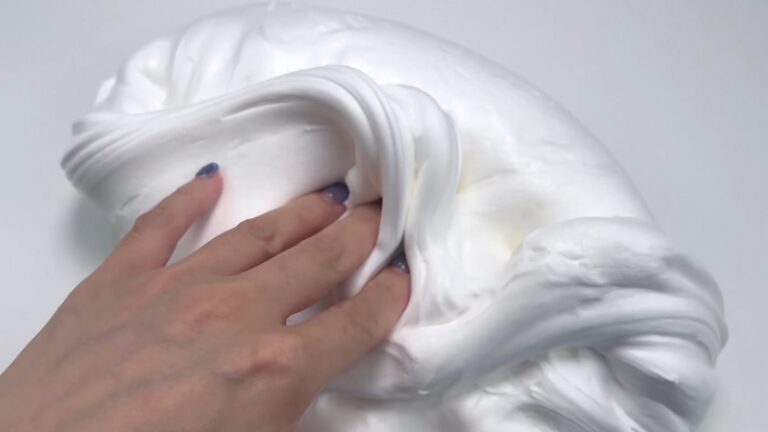
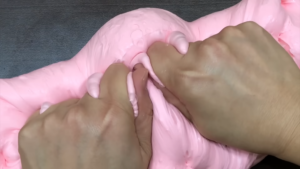
- Knead, Stretch, and Play!When stirring isn’t enough, dive in with your hands. Knead the slime until it’s smooth, stretchy, and no longer sticky. This hands-on step is where the magic happens!Bonus: For the best texture, let the slime sit for 20–30 minutes before play. This helps solidify the texture, making it even stretchier.
Video
Notes
Tips for Long-Lasting Slime
- Store in an Airtight Container: Keeps slime fresh for weeks.
- Too Sticky? Add a few extra drops of saline solution and knead again.
- Want Glitter Slime? Mix in fine glitter for a dazzling effect.
- Glow-in-the-Dark Slime: Use glow-in-the-dark glue instead of regular glue for an extra fun twist.
Why This Recipe Works So Well
I tried a few other methods, including all-natural edible versions, but they were way too sticky. This one, using Elmer’s glue, hits the sweet spot—safe, stretchy, and just the right amount of gooey. Plus, no weird chemicals, no harsh detergents, and nothing I’d worry about kids touching.
So, if you’re looking for a fun weekend activity (or a cool way to sneak in a little science), this is it. Making slime is ridiculously easy, endlessly fun, and—let’s be honest—even a little satisfying for us adults.
So go ahead, mix up a batch, and let the slimy fun begin!